Interested to work with our company? Let's get in touch!
We love to hear from you about your project.
We love to hear from you about your project.

Custom web parts can provide your SharePoint pages with unique and valuable features. In this article, we’ll show you how to create and deploy Employee Web Part on SharePoint.
First, we will create an employee directory web part.
SharePoint Online Employee directory web part using SharePoint Framework (SPFx) and Microsoft Graph API to show Azure Active Directory (AAD) users. There is no out-of-the-box (OOTB) web part for the “Employee Directory” or “Staff list” web part on SharePoint online modern experience pages. Show and search users from your organization, through Microsoft Graph.
Employee Directory app is based on SharePoint Framework (SPFx) and may be hosted on SharePoint Modern Page, Classic Page, and Microsoft Teams. This approach means that you can use the same application on multiple platforms without restrictions. SharePoint Framework app runs in a browser in the context of the current user.
Employee Directory web parts consume Microsoft Graph API to get information about user details from Azure AD, presence status from Teams, and schedule from Outlook. Interaction between Microsoft Graph and Web Part based on native client built into SharePoint Framework. Consuming flow is the following:

The following permissions are required for the Employee Directory app so that the web parts work correctly:
The first two permissions (Directory.Read.All and User.Read.All) are necessary to get information about users and manager/subordinates relationship. Presence.Read.All permission is required to get the current presence status of the user in Microsoft Teams. The last Calendars.Read one is required to read data from a user calendar.
The main web part for searching and displaying information about employees in your organization.
Employee Directory web part supports both Azure AD and User Profiles as a data source.
Web parts are able to display custom columns.
npm install – g yo gulp
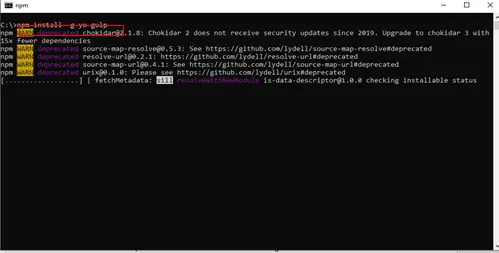
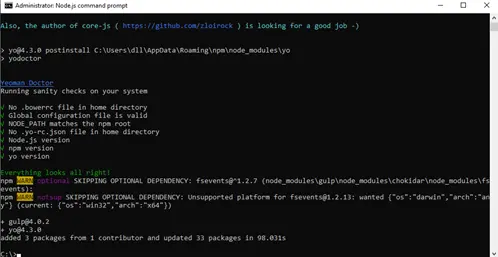
npm install – g yo gulp
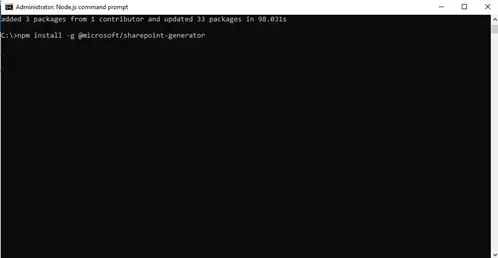
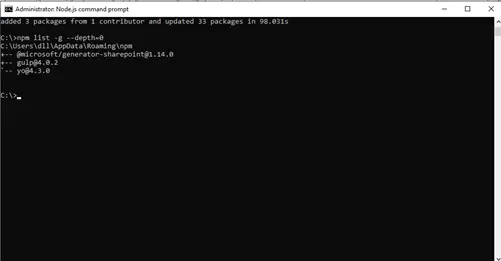
npm list –g –depth=0

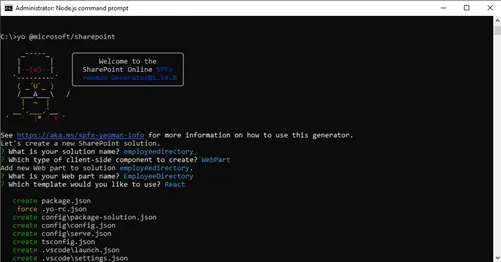
yo @microsoft/sharepoint

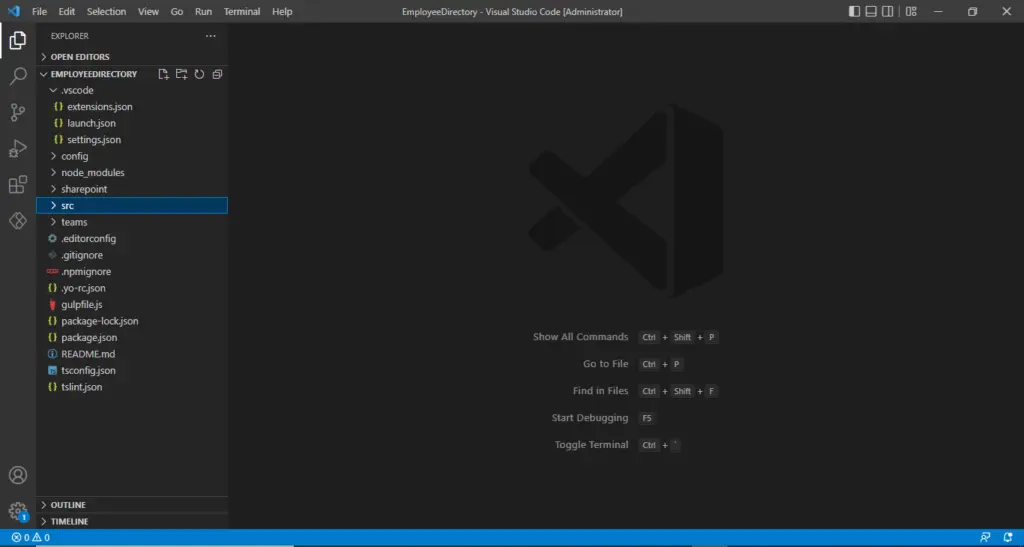
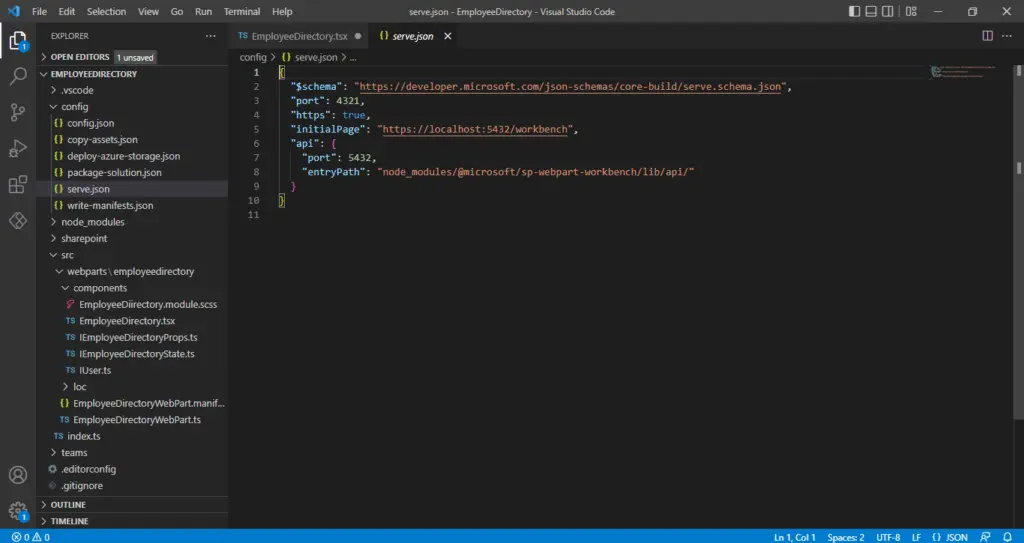
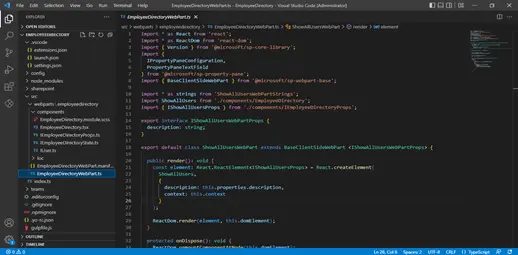
import { WebPartContext } from “@microsoft/sp-webpart-base”; context: WebPartContext;

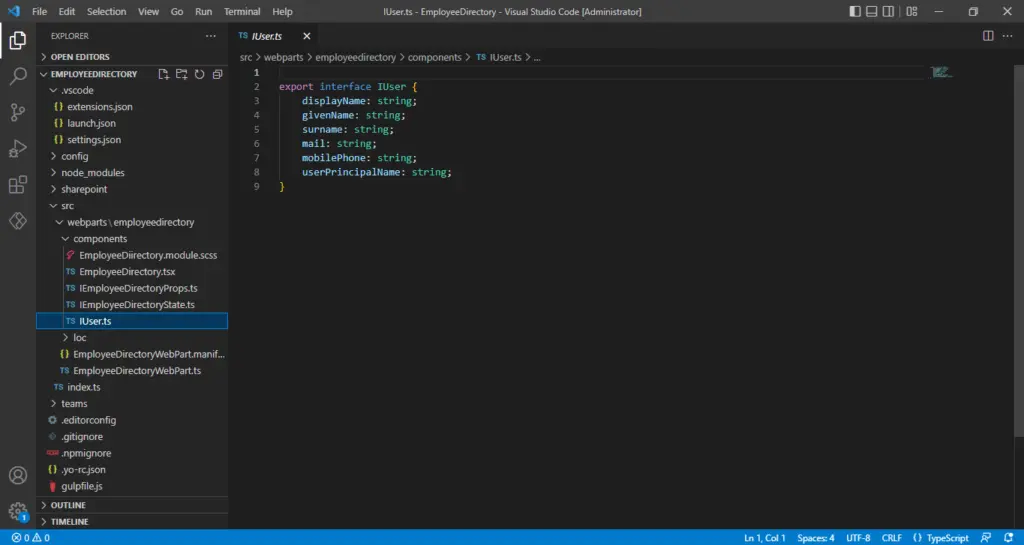
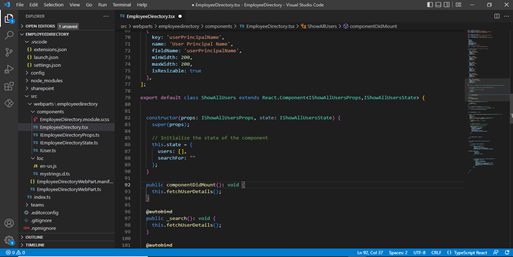
users which basically holds the array of users which we defined in IUsers.ts searchFor is used to search the employee which we will use in tsx file.
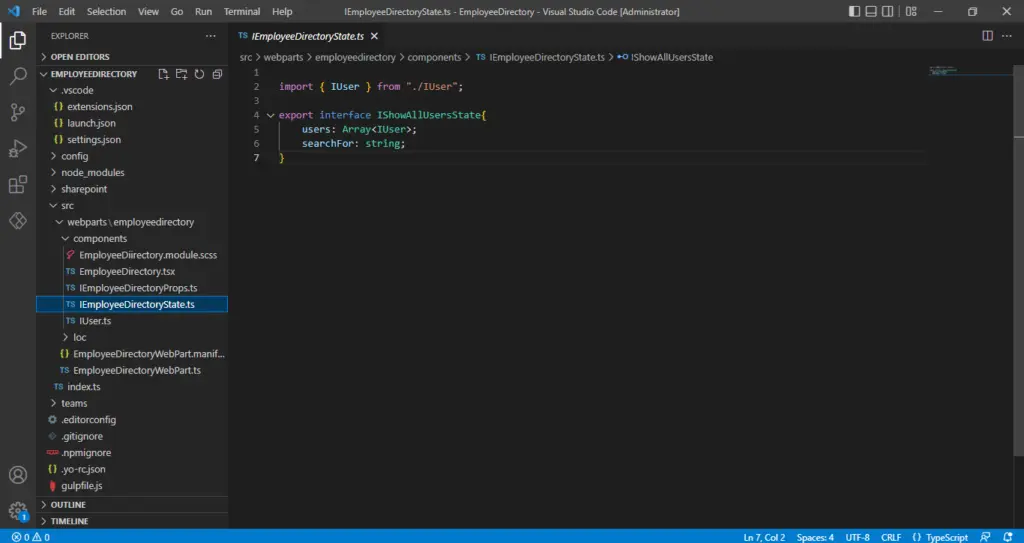
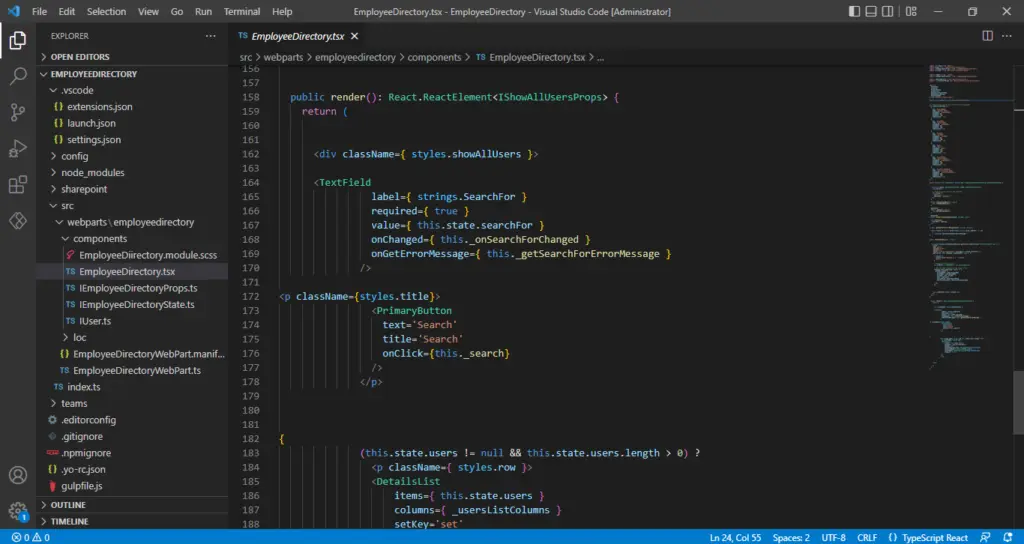
Text Field – which is used to enter the values
Primary Button – used to search the values entered in the TextField using API
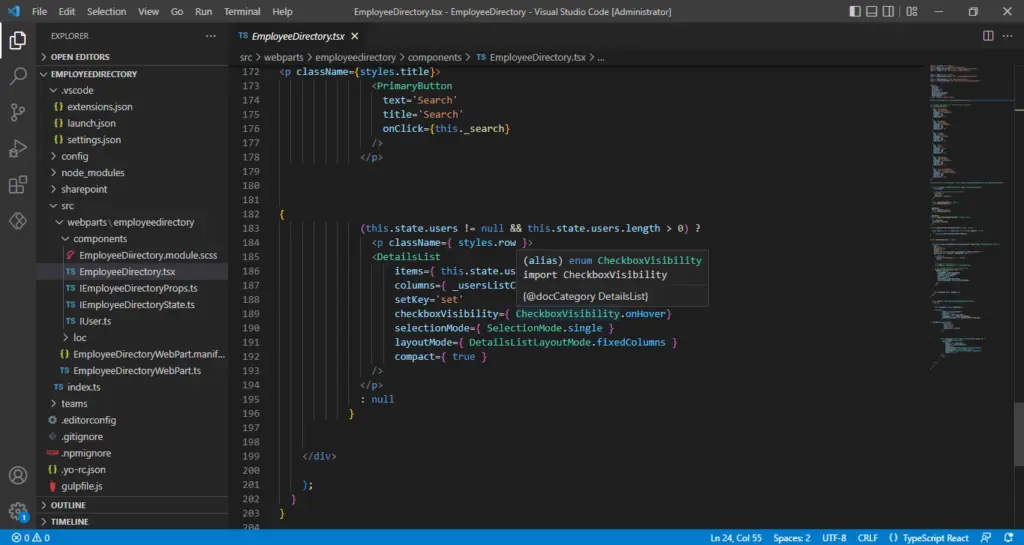
Details list – used to show the information about the users
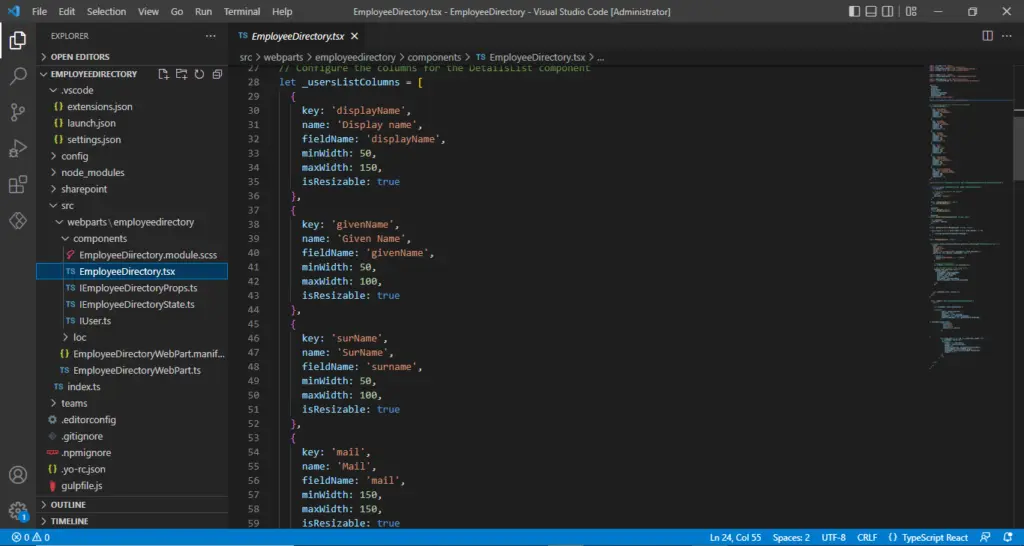


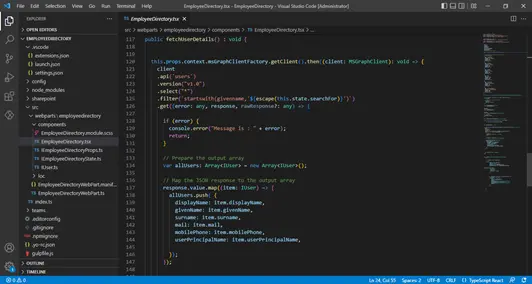
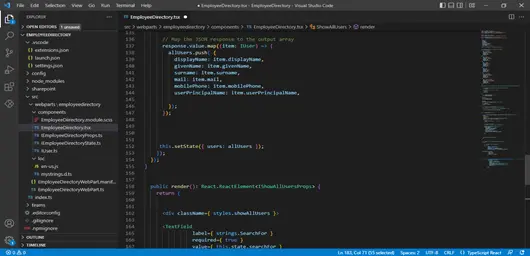
Now we are done with building the Webpart.
Once we are done with building the webpart. Run the following commands to build and bundle the solution.
This will create a folder called sharepoint in your SPFX folder that you created for this webpart. Navigate to the folder sharepoint -> solution -> .sppkg file.
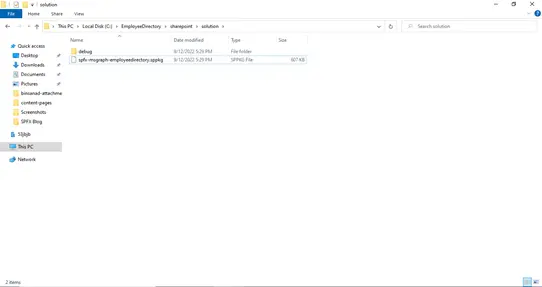
Now we will start to deploying webpart

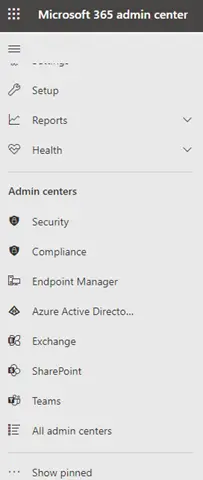
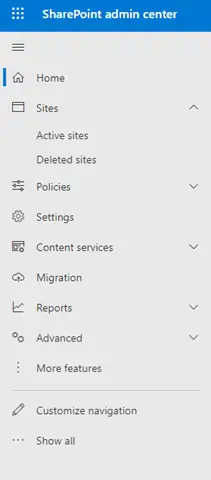
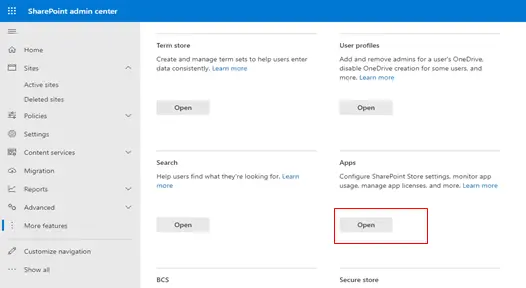

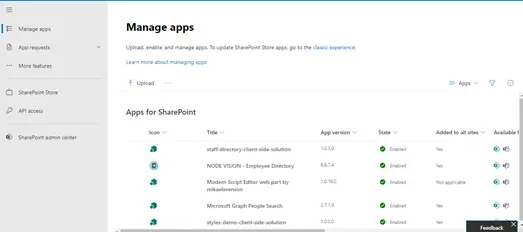

Now we deployed the Employee Directory Webpart in your tenant successfully.
Now Go to SharePoint site and the page in which you want to add the webpart.
Edit the page and select the layout. Add Employee Directory Webpart.

The Employee Directory Webpart has been build and deployed successfully.
Note: Give us a call or leave a message, we endeavour to answer all enquiries within 24 hours on business days.
We love to hear from you about your project.
If you want to get a free consultation without any obligations, fill in the form below and we’ll get in touch with you.